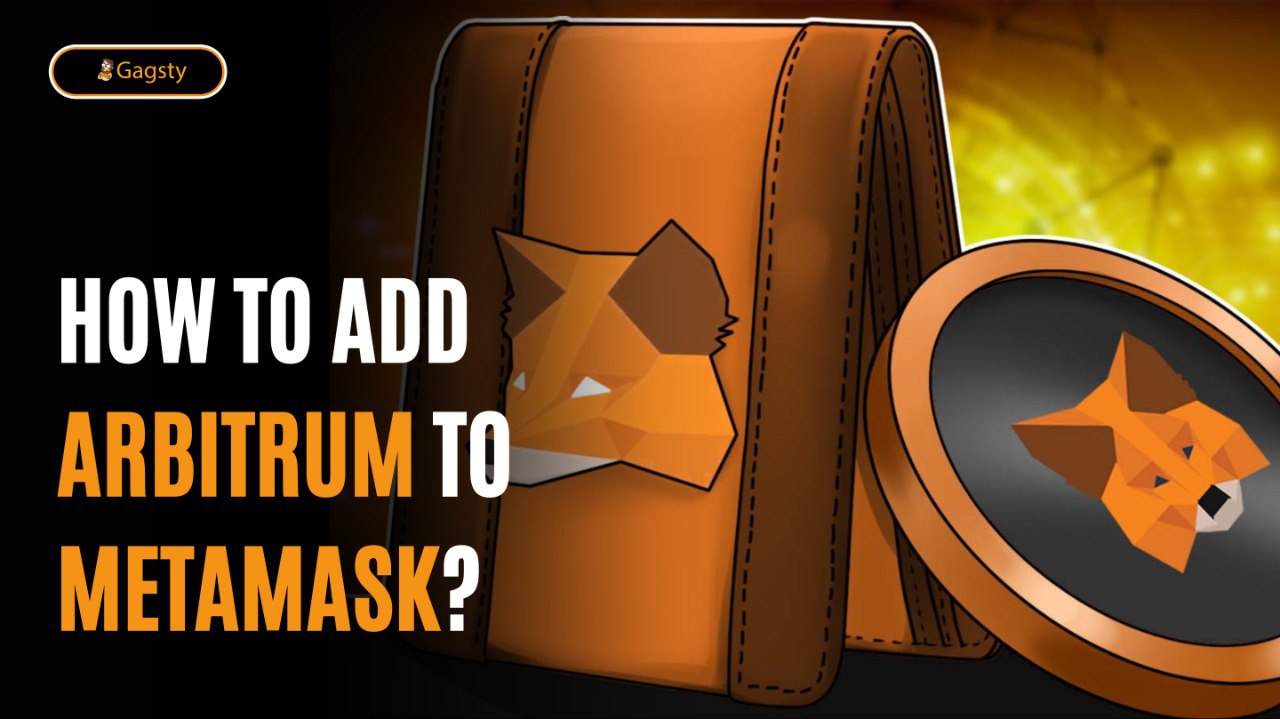
If you are looking to explore the world of decentralized finance (DeFi), you may have come across the term Arbitrum. Arbitrum is a layer-2 scaling solution for Ethereum that allows for faster and cheaper transactions. It has gained popularity in recent times due to its ability to provide a high-speed and low-cost experience for users of Ethereum-based applications.
To access Arbitrum, you need to connect your Metamask wallet to the Arbitrum network. This tutorial will guide you through the steps of adding Arbitrum to Metamask.
Step 1: Install Metamask
Before you can use Arbitrum, you need to have Metamask installed on your computer or mobile device. Metamask is a popular cryptocurrency wallet that allows users to manage their digital assets and interact with decentralized applications.

To install Metamask, go to the official website and follow the instructions to download the wallet for your preferred device.
Step 2: Switch to the Ethereum Network
By default, Metamask is set to the Ethereum network. If you are already on the Ethereum network, you can skip this step.

To switch to the Ethereum network, open your Metamask wallet and click on the network dropdown in the top right corner of the screen. From the dropdown, select the Ethereum network.
Step 3: Add Custom RPC Network
Once you have switched to the Ethereum network, you need to add a custom RPC network for Arbitrum.

To add a custom RPC network, follow these steps:
- Click on the network dropdown in the top right corner of the screen.
- Scroll down to the bottom of the dropdown and click on “Custom RPC”.
- In the “New RPC URL” field, enter the following URL: https://arb1.arbitrum.io/rpc
- In the “Chain ID” field, enter 42161.
- In the “Symbol” field, enter “ETH”.
- In the “Block Explorer URL” field, enter the following URL: https://arbiscan.io/.
Once you have entered all the required information, click “Save” to add the custom RPC network.
Step 4: Switch to Arbitrum Network
After you have added the custom RPC network, you need to switch to the Arbitrum network.

To switch to the Arbitrum network, follow these steps:
- Click on the network dropdown in the top right corner of the screen.
- Select the custom RPC network you just added (it should be called “Arbitrum One” or something similar).
- Wait for the network to switch. You should now be on the Arbitrum network.
Step 5: Add Tokens to Metamask
Once you are on the Arbitrum network, you can add tokens to your Metamask wallet.

To add tokens to your Metamask wallet, follow these steps:
- Click on the “Add Token” button in the “Assets” section of the Metamask wallet.
- Enter the contract address of the token you want to add. You can find the contract address on the token’s website or on a platform like CoinGecko.
- Enter the token’s symbol and the number of decimals.
- Click “Add”.
Once you have added the token, it should appear in the “Assets” section of your Metamask wallet.
Step 6: Use Arbitrum
Now that you have added Arbitrum to Metamask, you can use it to interact with Ethereum-based applications that support Arbitrum. You can send and receive transactions on the Arbitrum network, and take advantage of its fast and low-cost features.

Conclusion
Adding Arbitrum to Metamask is a simple process that enables users to interact with the Arbitrum network and access its various applications. By following the steps outlined in this tutorial, users can easily add Arbitrum to their Metamask wallets and start enjoying the benefits of faster transactions and lower fees. As more and more applications are developed on the Arbitrum network, being able to use Metamask to interact with them will become increasingly important for crypto enthusiasts and investors alike.
Leave a Reply